If you’re a stickler when it comes to coffee and you just hate it when you get grounds in your mouth when you sip your favorite brew, but you want to get your coffee fix fast—then AeroPress coffee may just be the thing for you.
A gravity-defying contraption that seems like it’s taken straight off the space age, AeroPress coffee is a fairly recent addition to the many coffee brewing methods people use today. In fact, it was just invented in 2005 by Alan Adler, president of Aerobie, maker of a Guiness World Record-holder flying ring (frisbee) of the same name.
Making AeroPress Coffee: The Parts
Making coffee out of an AeroPress is not rocket science. It uses the same principles behind French press coffee. AeroPress has a few distinct differences from its earlier counterpart, however. This includes the use of a disposable paper filter, a finer ground of coffee, and a shorter brewing time of 20 to 30 seconds, resulting to a stronger and yet less acidic cup.
The AeroPress comes with a few components that are easy to assemble. There’s the AeroPress itself, which consists of a good-grade plastic plunger and chamber, the cap to go at the end of the plunger, and the filter that you put onto the cap. Accessories include a coffee scoop measure, a paddle for stirring, and a funnel for getting your coffee grounds into the chamber.
Two Ways of Making AeroPress Coffee
There are two ways of making AeroPress coffee: One is the original method, which is simple and straightforward. The other is the inverted method, which is impressive but still quite easy. This latter method requires the coffee to steep a little longer. Both ways, however, lead to a more robust yet crisp cup of coffee similar to espresso.
Let’s play around with both methods to see which one you would like best.
Original Method
Step 1: Heat water. In a kettle, bring water to a boil. Once it reaches boiling, turn off the heat and set aside the kettle for about one minute so your water’s temperature will be somewhere between 175F and 195F.
Step 2: Grind your beans. As a rule of thumb for great-tasting coffee, use freshly ground beans. So while your water is boiling, grind your coffee. For a 2-cup AeroPress, you would need to measure 2 AeroPress scoops of coffee beans into your grinder. You’re aiming for a fine grind similar to what you would use for drip coffee.
Step 3: Prep the AeroPress. Place your filter in the basket or cap. Then, preheat the brewer by running hot water through your AeroPress and the filter onto your cup. Then, discard the rinsed water on your cup. This step is important for getting rid of the paper filter flavor as well as for warming everything up so you maintain your optimum temperature as you brew.
And while you’re at it, you can also heat up your mug as well.
Step 4: Add your coffee. Assemble the filter basket onto the bottom of the brew chamber and place this on top of your cup. Then, use the AeroPress funnel to add your freshly ground coffee.
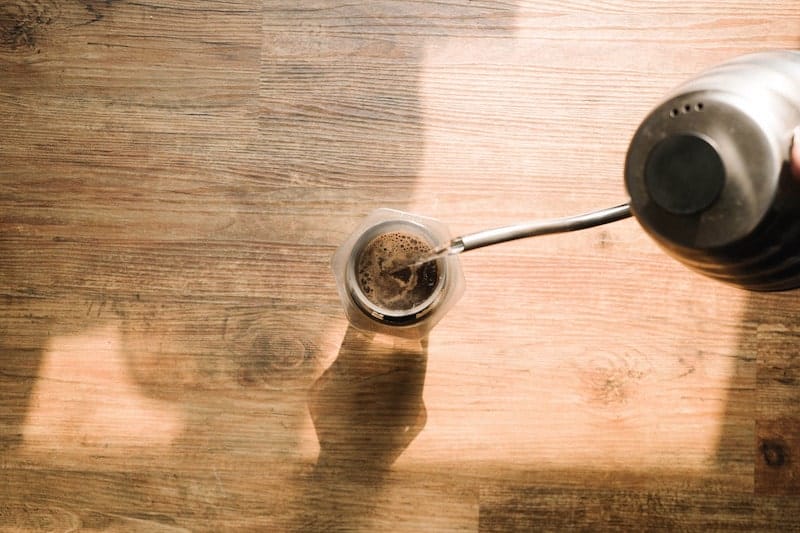
Step 5: Pour in your water. Make sure to remove the funnel before you pour into the chamber the hot water. Make sure that you saturate all the grounds within 10 seconds, and continue pouring until the chamber is almost full.
Step 6: Stir and steep. Briefly stir the grounds and water together using the paddle that comes with your AeroPress. This should take no more than ten seconds.
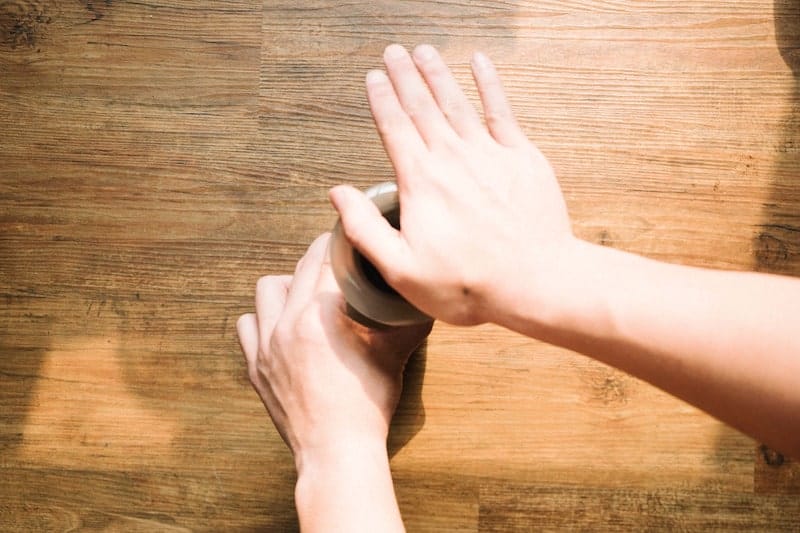
Step 7: Take the plunge. Wet the rubber seal and insert the plunger into the chamber. Press down the plunger with one smooth and gentle motion. The plunger will sink slowly into the chamber, putting pressure through the grounds, taking at least twenty seconds.
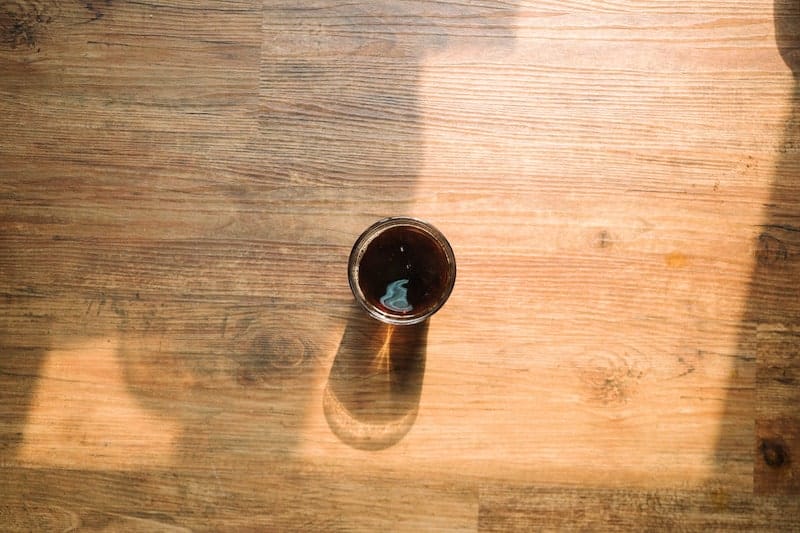
Step 8: Serve. Once the plunger has pushed all the way down to the grounds, remove the AeroPress and serve your coffee.
Inverted Method
Step 1: Assemble the AeroPress. In this method, you must assemble the AeroPress upside-down. You must put the plunger into the chamber and flip it without putting the cap or filter basket on yet.
Step 2: Heat your water and grind your coffee. In this step, you heat your water until boiling point and then remove from heat. The same ideal temperature of between 195F and 175F should be met. Also, your coffee should still be freshly ground to the same texture as that for drip coffee.
Step 3: Put coffee in the chamber. Using the AeroPress funnel, pour your coffee grounds into the chamber. Follow this with hot water, following the guide according to the amount of coffee you have and how many servings you want to make.
Step 4: Stir and steep. Stir the coffee grounds and water mixture once, using the paddle. Then, let your coffee steep for 1 minute. If your coffee is too weak, you can make the steeping time a few more seconds longer; if too strong, your steeping time should be shorter.
Step 5: Put on the filter cap. Place the filter cap or filter basket and make sure to screw it tightly on the AeroPress chamber to avoid leakage.
Step 6: Make the flip and press. Flip your AeroPress over carefully and place it on your cup or carafe. Then, press the plunger down in one gentle and smooth motion similar to how you would plunge using the original method.
Step 7: Serve and enjoy. Once you have pressed the plunger all the way down and extracted the coffee, you can begin serving and enjoying a freshly made, full-bodied and rich-flavored AeroPress coffee.
###


